
Setting up new Disks for your Custom-Built File Server
Very few things stay constant for long and the same is true of computers. I found myself needing to upgrade one of the hard-drives in my custom-built server not that long ago and thought ‘what a great idea for a new article!’
This is the companion to an earlier topic on setting up your very own network attached storage.
The biggest item of interest in this new piece is how to format and prepare a hard-drive for your server.
Formatting a new HDD
I recommend you use a separate computer to partition, format and prepare a new HDD, or at the very least use the Disks utility to ensure you are making changes to the correct disk. Otherwise you run the risk of messing up one of the other HDDs installed in your machine. No one wants to see their disks wiped out from such an oversight! If you insist on using the command-line please see this article for details.
Rather than use the command-line, I recommend using gnome-disks to partition and format the new HDD. It gives a much better indication of which disk you are intending to work with. Be sure to check and double-check you have the correct drive before proceeding!
Once your new disk is formatted and renamed, proceed with installing or connecting it to your machine of choice.
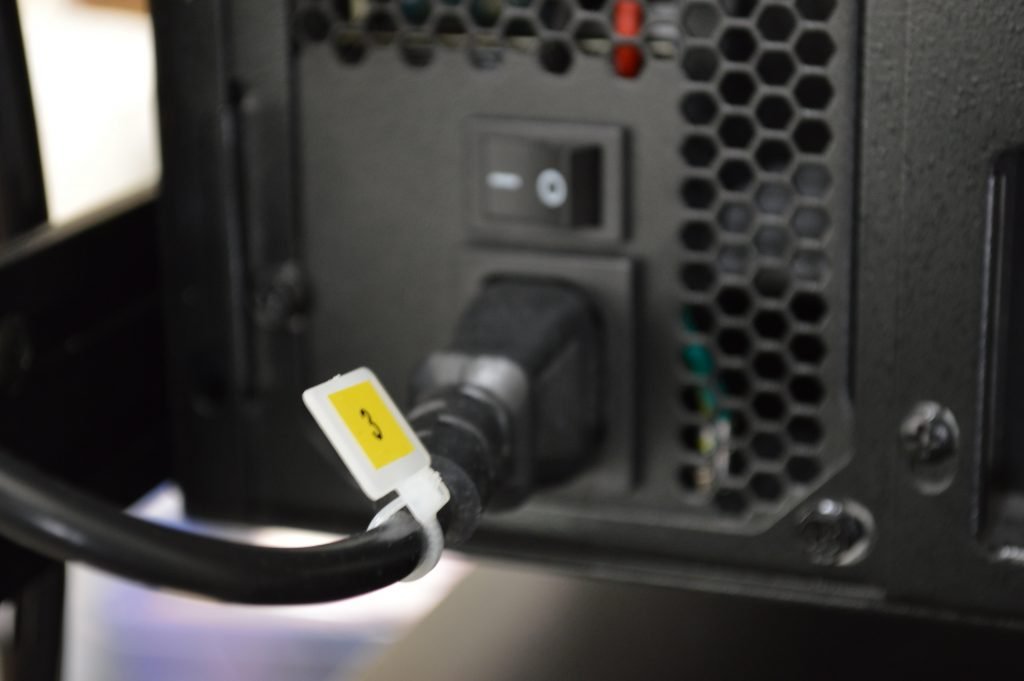
A picture should help: I had already installed the new HDD in my server when I realised it would be both dangerous and clunky to try to partition and format it. My escape plan involved hooking the new HDD up to my laptop via a portable dock as seen in the picture. After a few mouseclicks in ‘Disks’ my new HDD was partitioned and formatted, ready to rock!
Configure HDD to Mount on Startup
See this page for information on fstab; see this page as well as this one for more info.
Get the UUID of the desired disk partition:
sudo blkid
Find the disk partition from the list and note the UUID of interest. For this tutorial it is called <label>.
Open the fstab file:
sudo nano /etc/fstab
For RAID array, add the following line in the fstab file:
# Added YYYY-MM-DD by <author> for RAID.
# <file system> <mount_point> <type> <options> <dump> <pass>
UUID=<label> /media/<server_user>/<drive_label> ext4 auto,commit=5,noexec,nouser,rw,async,nofail,nosuid,nodev,relatime,stripe=32,uhelper=udisks2 0 0
If the new disk is a single physical volume use the following configuration:
# Added YYYY-MM-DD by <author> for direct backups to new HDD.
UUID=<label> /media/<server_user>/<drive_label> ext4 auto,noexec,nouser,rw,async,nofail,relatime 0 0
Use cntl-o to save, cntl-x to exit.
Be sure to update fstab once a new HDD is added to your computer or server! If parameters are not specified in fstab there is a good chance the new HDD will not be mounted properly leading to issues during automated backups.
Restart your machine, using the following command from your SSH session:
sudo /sbin/reboot
Once the server is re-booted, log-in via SSH from a client to ensure the drive is present:
sudo fdisk -l | grep '^Disk'
We will take this a step further by confirming that the drive is mounted:
sudo mount -l | grep '^\/dev'
If you do not pipe the mount command to grep you will likely get a large number of results; you really only need to see the mount-points beginning with /dev.
How to Resolve “Temporary failure in name resolution” Issue
From time-to-time you may encounter a cryptic error when connecting via SSH to your server.
When connecting via:
ssh <username>@<hostname>
You may get:
Could not resolve hostname <hostname>: Temporary failure in name resolution
If this happens, there are seveal useful posts including this one on how to correct this error.
Prior to any sort of advanced trouble-shooting, I like to start with turning it off and back on again.
If you find this does not do the trick then by all means proceed with the steps in the article. Let me know how it goes please!
Create Shared Folders
Before performing any backup tasks to the new HDD you should create your shared folders as necessary. I have built a handy script to do this, please feel free to contact me should you be interested in a demo.
Perform Initial Backup
I have a number of custom Python scripts that I use to back-up my files and folders. Using a combination of SSH and VNC I can run my back-up scripts manually to populate the new HDD, while monitoring the progress via the iotop command executed from a Terminal session running over VNC.
Postscript
Has any of this been helpful?
What experiences have you had in setting up a home file server?
Some people out there may be wondering why I am not using Open Media Vault or some other suitable NAS-type platform. Really it is about choices and I find that by having access to the underlying OS I am a bit more in-control of various services and I have a more direct line-of-communication when it comes to configuring and troubleshooting them. Or perhaps I am simply a glutton for punishment.