
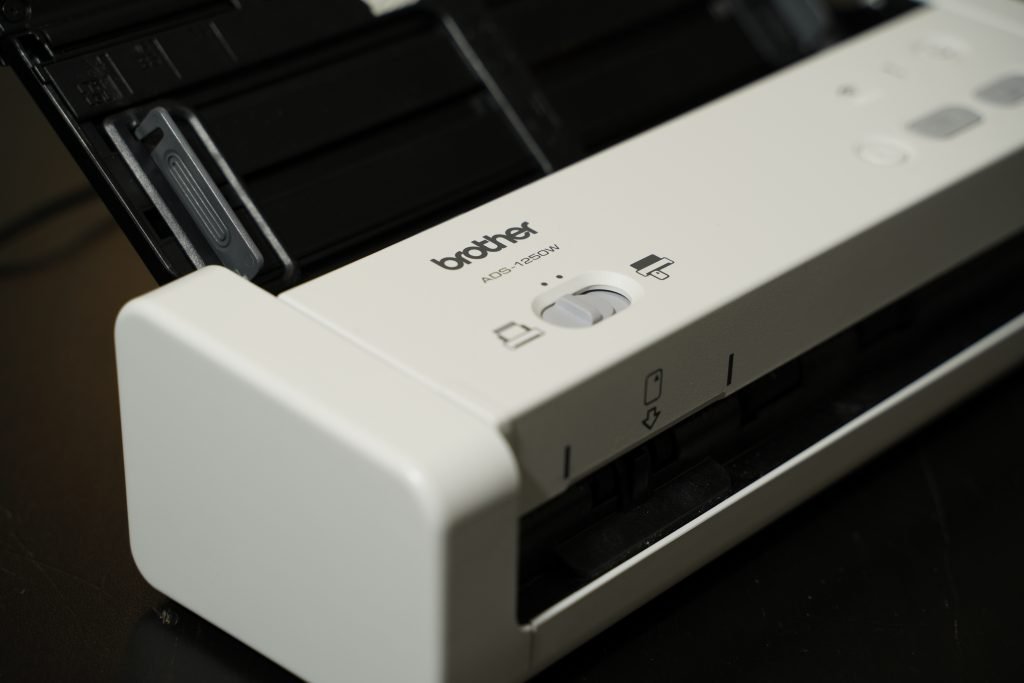
Helpful Set-up Steps for the Ever-So-Nifty ADS-1250W Scanner
In part 1 of this article I discussed how to connect the ADS-1250W to a network. Part 2 is where I do a walk-through of how to set it up in Ubuntu.
Provided you completed all of the steps in Part 1, your Brother ADS-1250W scanner should now be connected on your network.
This article assumes you are using Ubuntu 20.04, your mileage may vary with other distributions.
Assign Static IP
Once logged into Ubuntu the first thing you should do to continue with the scanner setup is assign your scanner a fixed IP address.
Make sure your scanner is powered on for this next part. Ensure it is getting power from an external source, ie: *not* connected to your computer’s USB.
Once powered on the blue wifi light will blink a few times then turn solid. If it does not please return to Part 1!
You should be able to see your scanner from your router’s DHCP wifi clients page. Before assigning a static IP, confirm you have the correct MAC address by carefully inspecting the underside of the scanner.
Once you have confirmed both the MAC address and desired IP, navigate to your router’s setting page that allows you to set a static IP. Go ahead and set the IP for your scanner as well as making a note of it. You will need this information in a few moments.
Configure Scanner
Follow the instructions from Brother’s website at step 4 ‘for network users’ to continue with the setup.
Run the following command in a Terminal window to configure your ADS-1250W scanner:
brsaneconfig5 -a name=ADS-1250W model=ADS-1250W ip=<scanner_IP> 192.168.2.17
Opps, hold on there! What happens if someone tried setting up my scanner on a different network? The resulting error message may look something along the lines of:
“ADS-1250W” is already registered.
Not to worry, if this happens you can remove your scanner’s old configuration using the following command:
brsaneconfig5 -r ADS-1250W
See this FAQ for details.
With the old configuration removed, go ahead and re-try the following command:
brsaneconfig5 -a name=ADS-1250W model=ADS-1250W ip=<scanner_IP> 192.168.2.17
If all goes well you should not get any indications and your Terminal’s cursor will return to the prompt without incident.
Next, run the following command to see the status of your scanner:
brsaneconfig5 -q | grep ADS-1250W
You should see something along the lines of:
* ADS-1250W [ <scanner_IP> ] ADS-1250W
Whew! Go ahead and take another refreshing sip as long as that beverage is still hot from the first part of this article.
Start Scanning
Now that your scanner is connected to your wireless network and you have configured it in Ubuntu you are ready to start scanning!
Having tried a couple of different applications using the ADS-1250W, I recommend starting with ‘Document Scanner’. It is a decent, no-frills application that should have you up-and-scanning in short order. You can install Document Scanner from the Ubuntu Software app.
GIF courtesy of Hornbach on Giphy.
I hope that this two-part article was helpful in your effort to go paperless in your home, business or both. All the best and stay safe out there!
Postscript
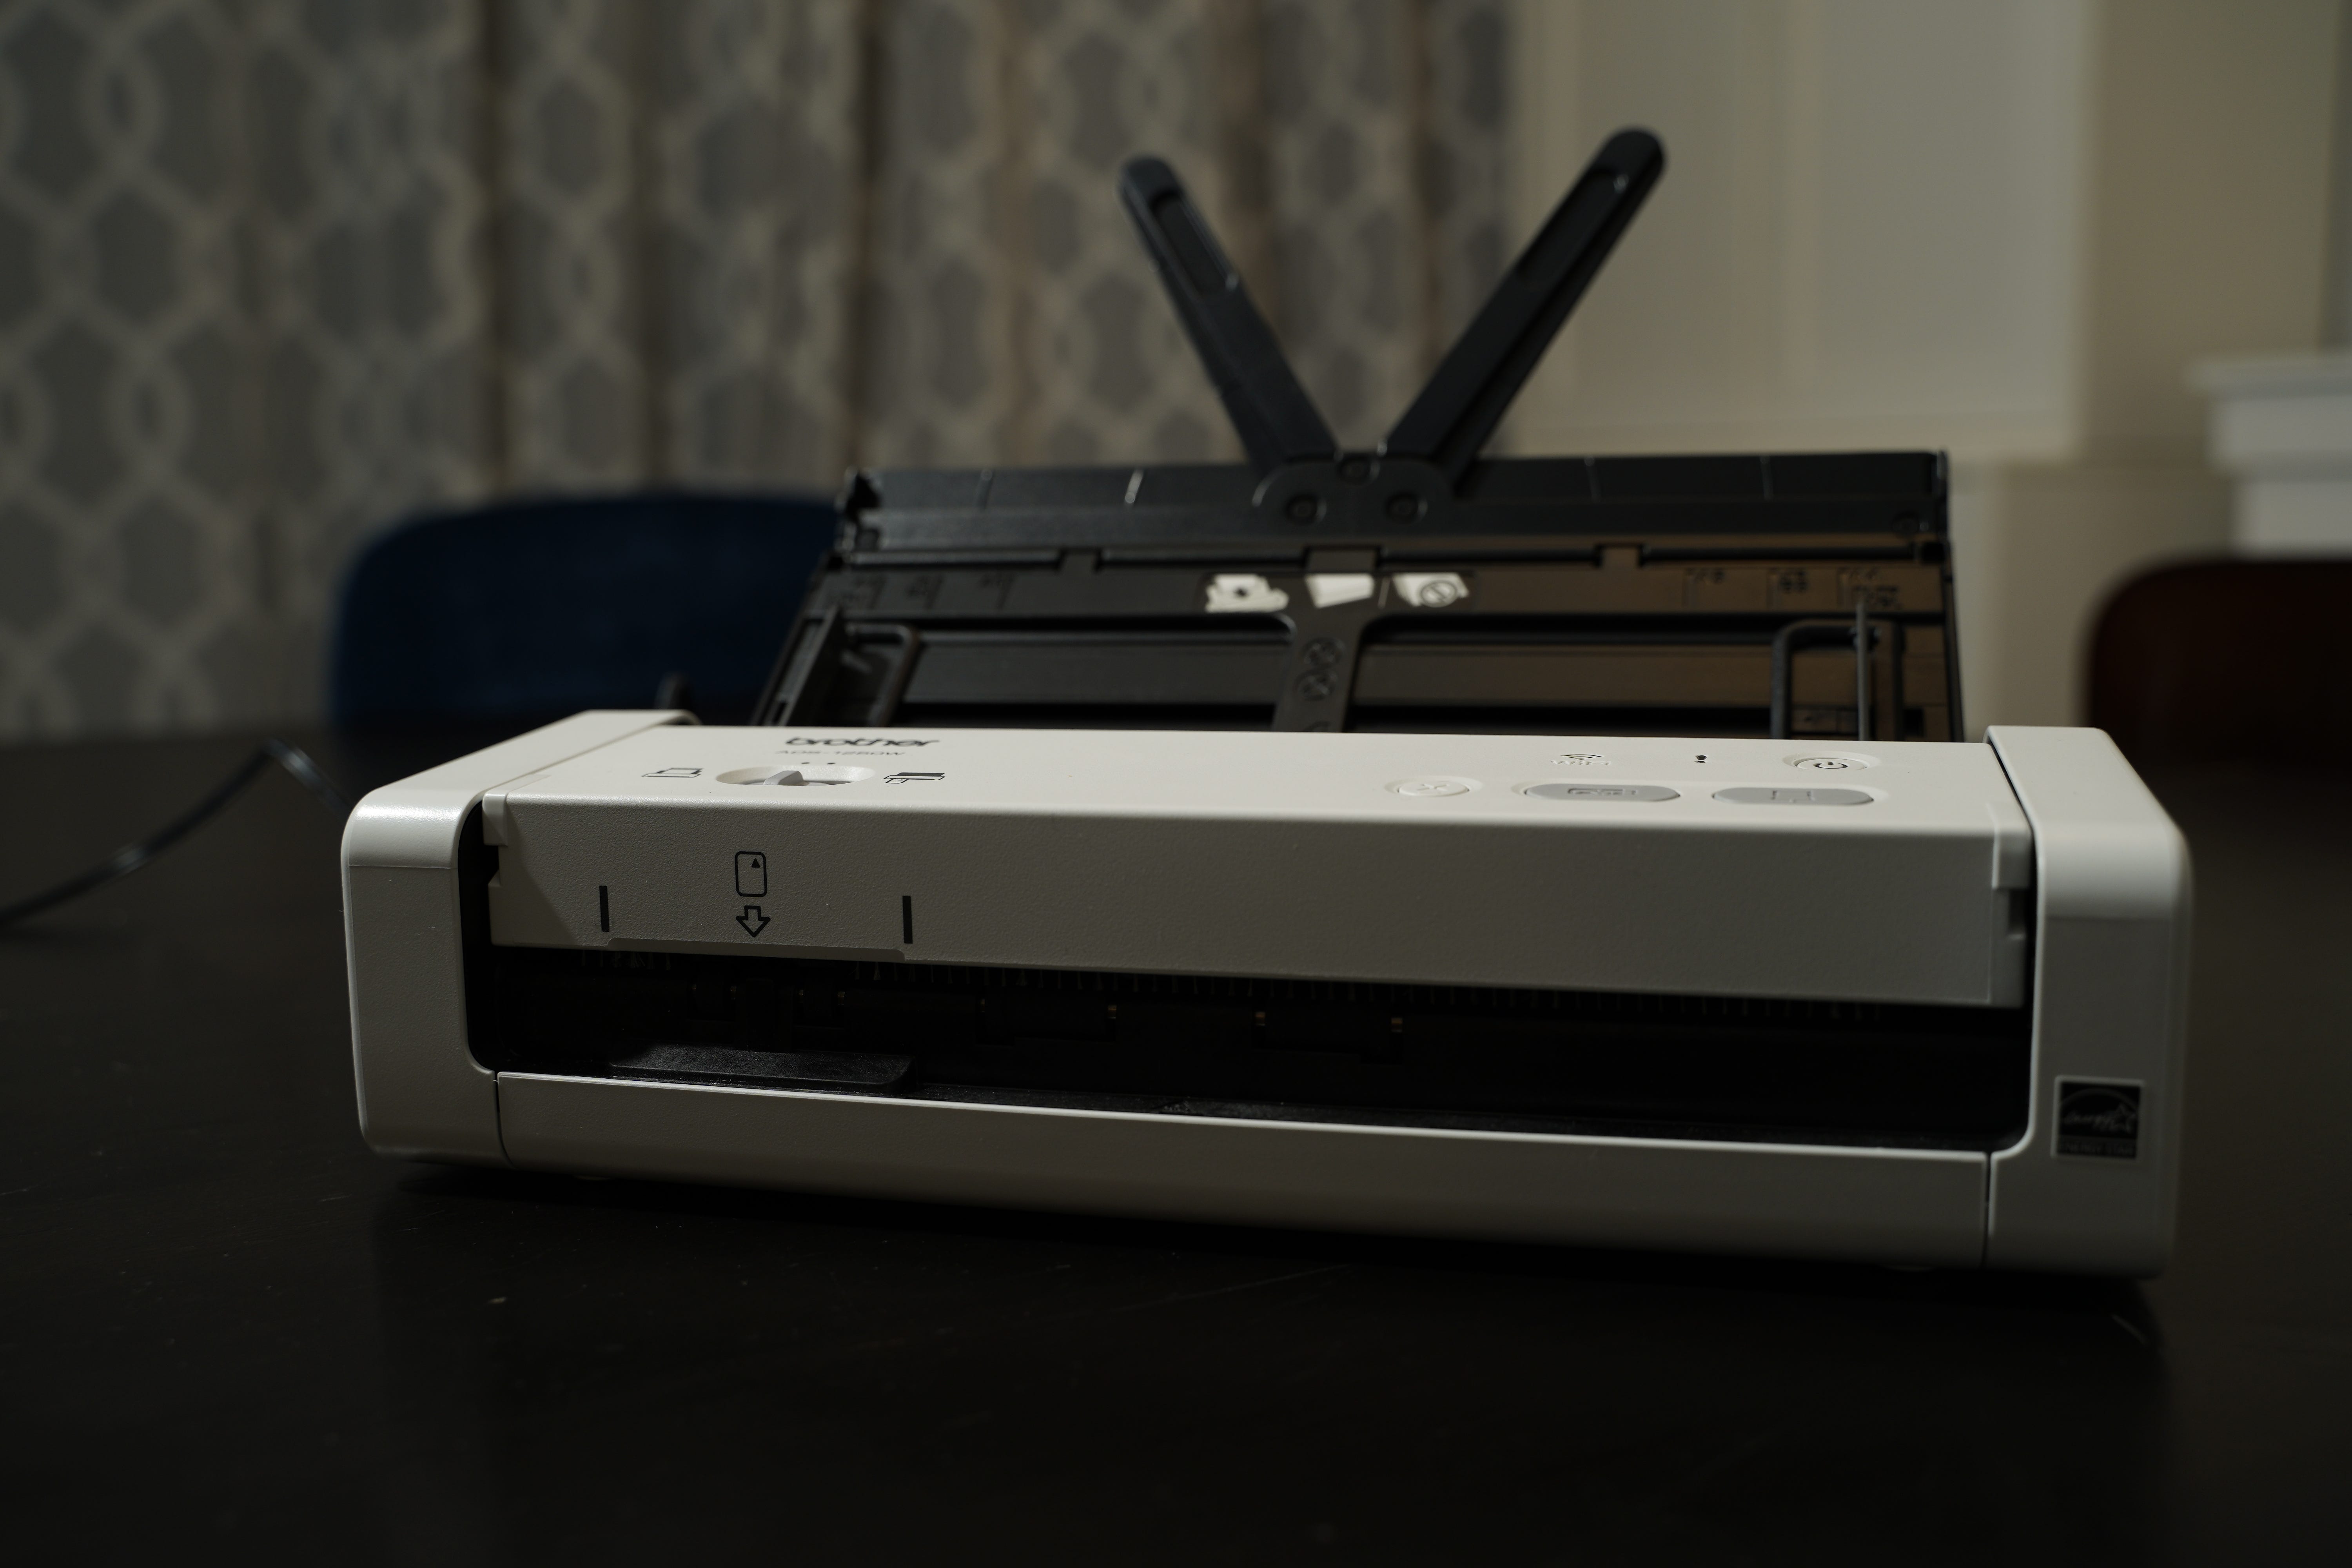
When attempting your first scan be sure to flip up the ‘bunny ears’ as well as little grey tabs. Set the tabs to the appropriate width of your documents. Follow the other instructions that came with your scanner for the best chance of success. I failed to do this on one of my first multi-document scans and many of the pages became progressively more wonky as the machine struggled to feed them cross-ways.
If you have a lot of paper to scan you will want to periodically clean both the upper and lower glass. I made the mistake of letting a bit of dirt and debris accumulate with the unfortunate result of those ghastly lines running the length of my scanned pages! Carefully opening the front cover and using a glass-friendly cleaning solution and micro-fibre cloth solved the problem in short order.
At the time I wrote this article there were not that many alternatives from Brother for simliarly-sized scanners. I have since discovered there is a newer albeit more expensive version, the ADS-1700W. Good news everyone: it comes with a front-panel display which should hopefully make set-up a lot easier! You can find it here on Amazon. For the incredibly curious, the laptop I used to configure my scanner is the Lenovo P50, you can find it here. Please note that as an Amazon Associate I earn from qualifying purchases from these links. I would be most interested to hear your experiences with Brother’s newer version of what has proven to be a very handy scanner!
Do you have any stories about the ups and downs of scanning in Linux?